Easy-Peasy Guided Steps for Making a Table

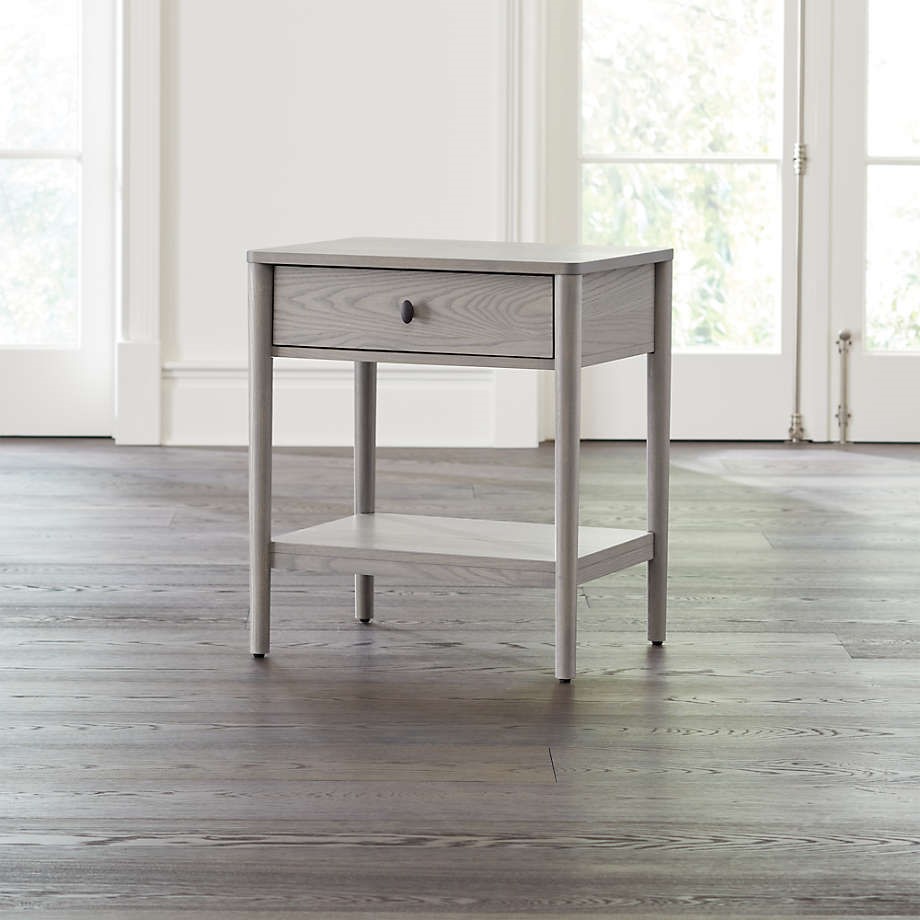
What’s more than building your own dream house with your own DIY furniture. If you are towards this, you can always start with small furniture – like a nightstand table.
This tutorial offers step-by-step instructions on how to build it. Learning how to build a table may seem complicated, but the right supplies, instructions, and plan can set you up for success.
How to Build a DIY Table: 6 Tips for Building a Table
Making your own table is a fun and easy DIY project, but it does require planning. Something like a DIY nightstand is slightly easier than building a dining table, so if you’re a beginner, consider starting small.
When you have your materials and tools together, it’s time to start putting your kitchen table together. Follow these steps for building your own DIY dining table.
1. Make Your Building Plans
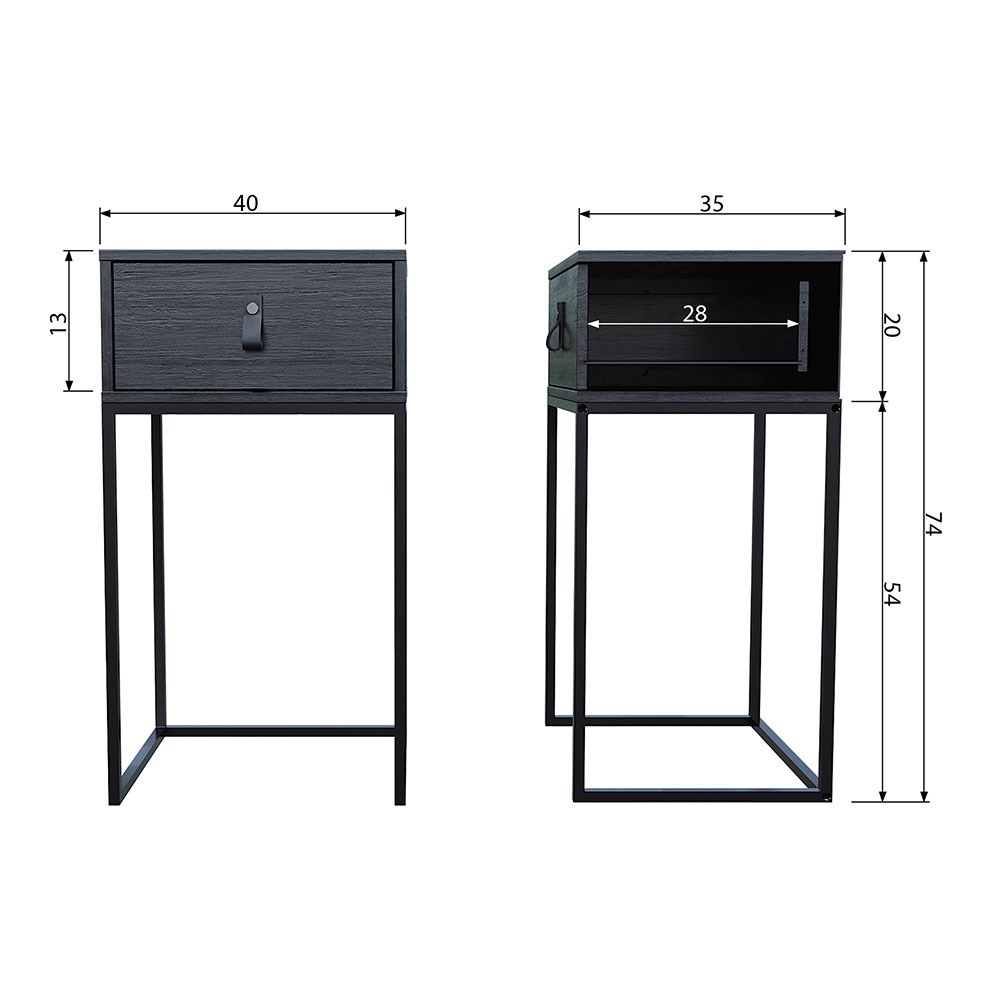
Before you start building your table, you should sketch out plans for it. Measure out how large you want your table to be, noting the dimensions in your sketch. You should be noting the size of your tabletop, your legs, and your table “apron” which will serve as a support system for your tabletop to attach the table legs to.
2. Cut Your Lumber
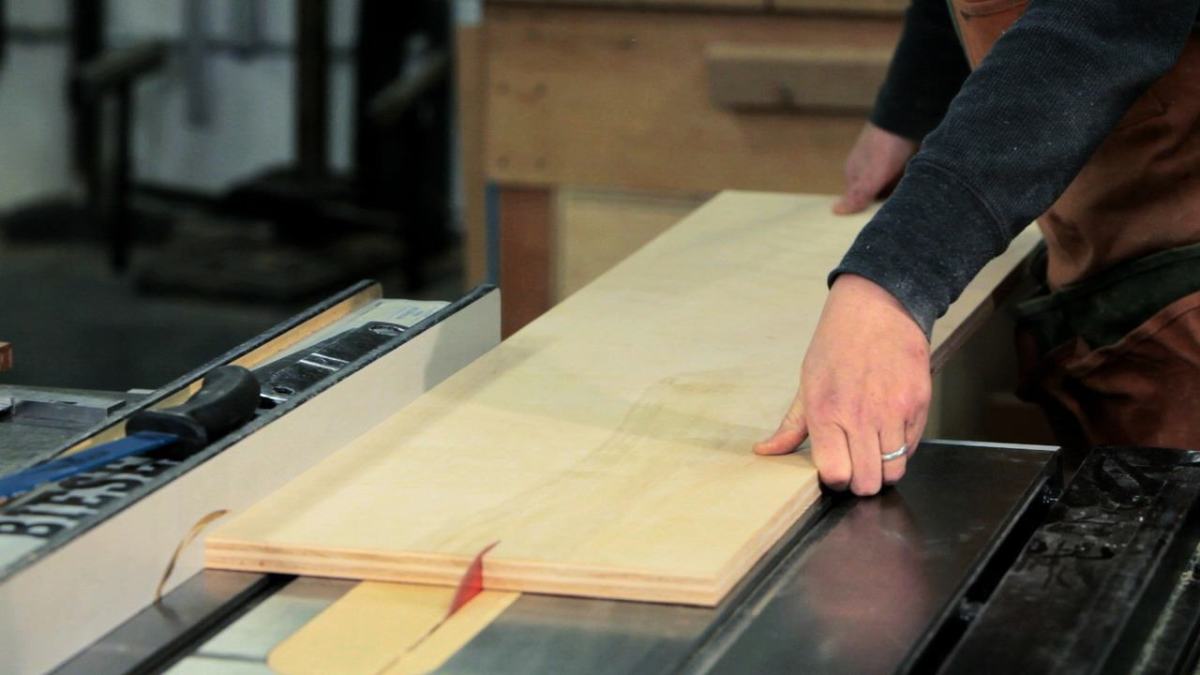
If you planned to cut your own lumber, you should have some cutter tools. You can also purchase pre-cut lumber for the pieces you’ll need to make your table. If you are cutting your own lumber, make sure to wear goggles, a mask, and gloves when you do so. Cut your four wooden planks to a length of 29 ½ inches for your legs. For the tabletop, cut two 10-inch wooden planks, or simply sand down a large piece of reclaimed wood. Cut the lumber that will become your apron by cutting two planks of wood to the width of your tabletop, and two pieces to the length of your tabletop.
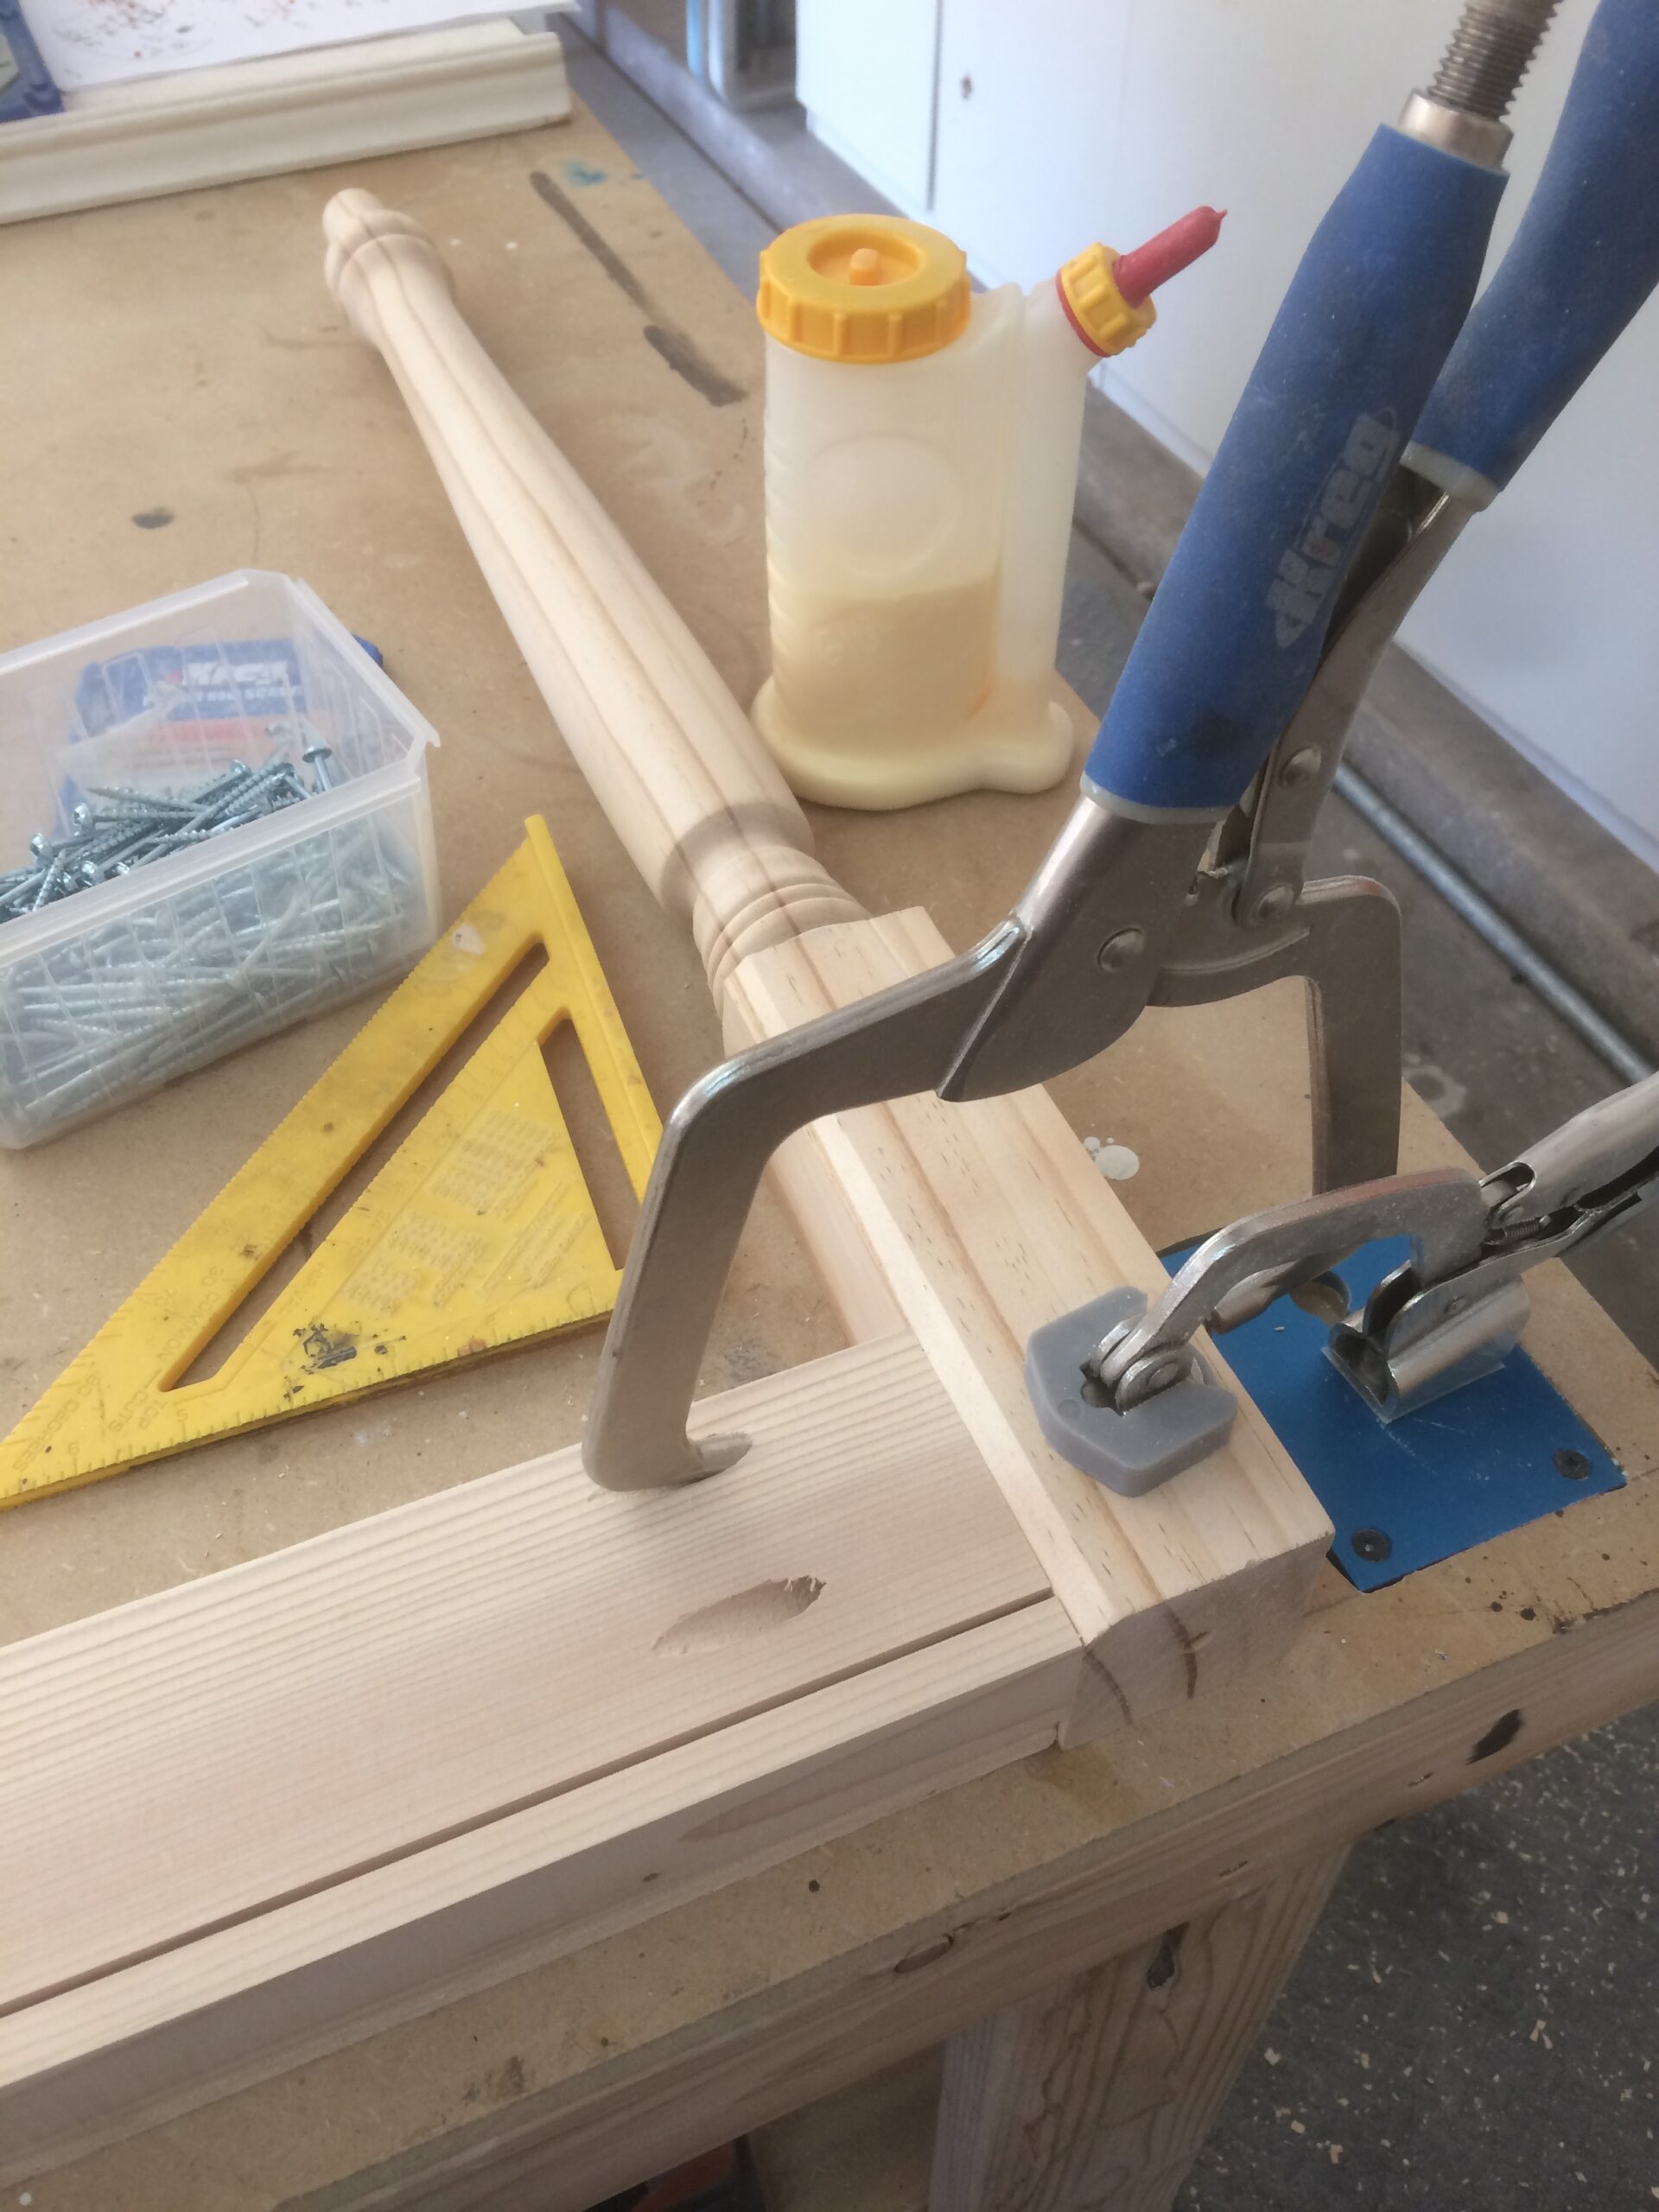
3. Build Your Tabletop
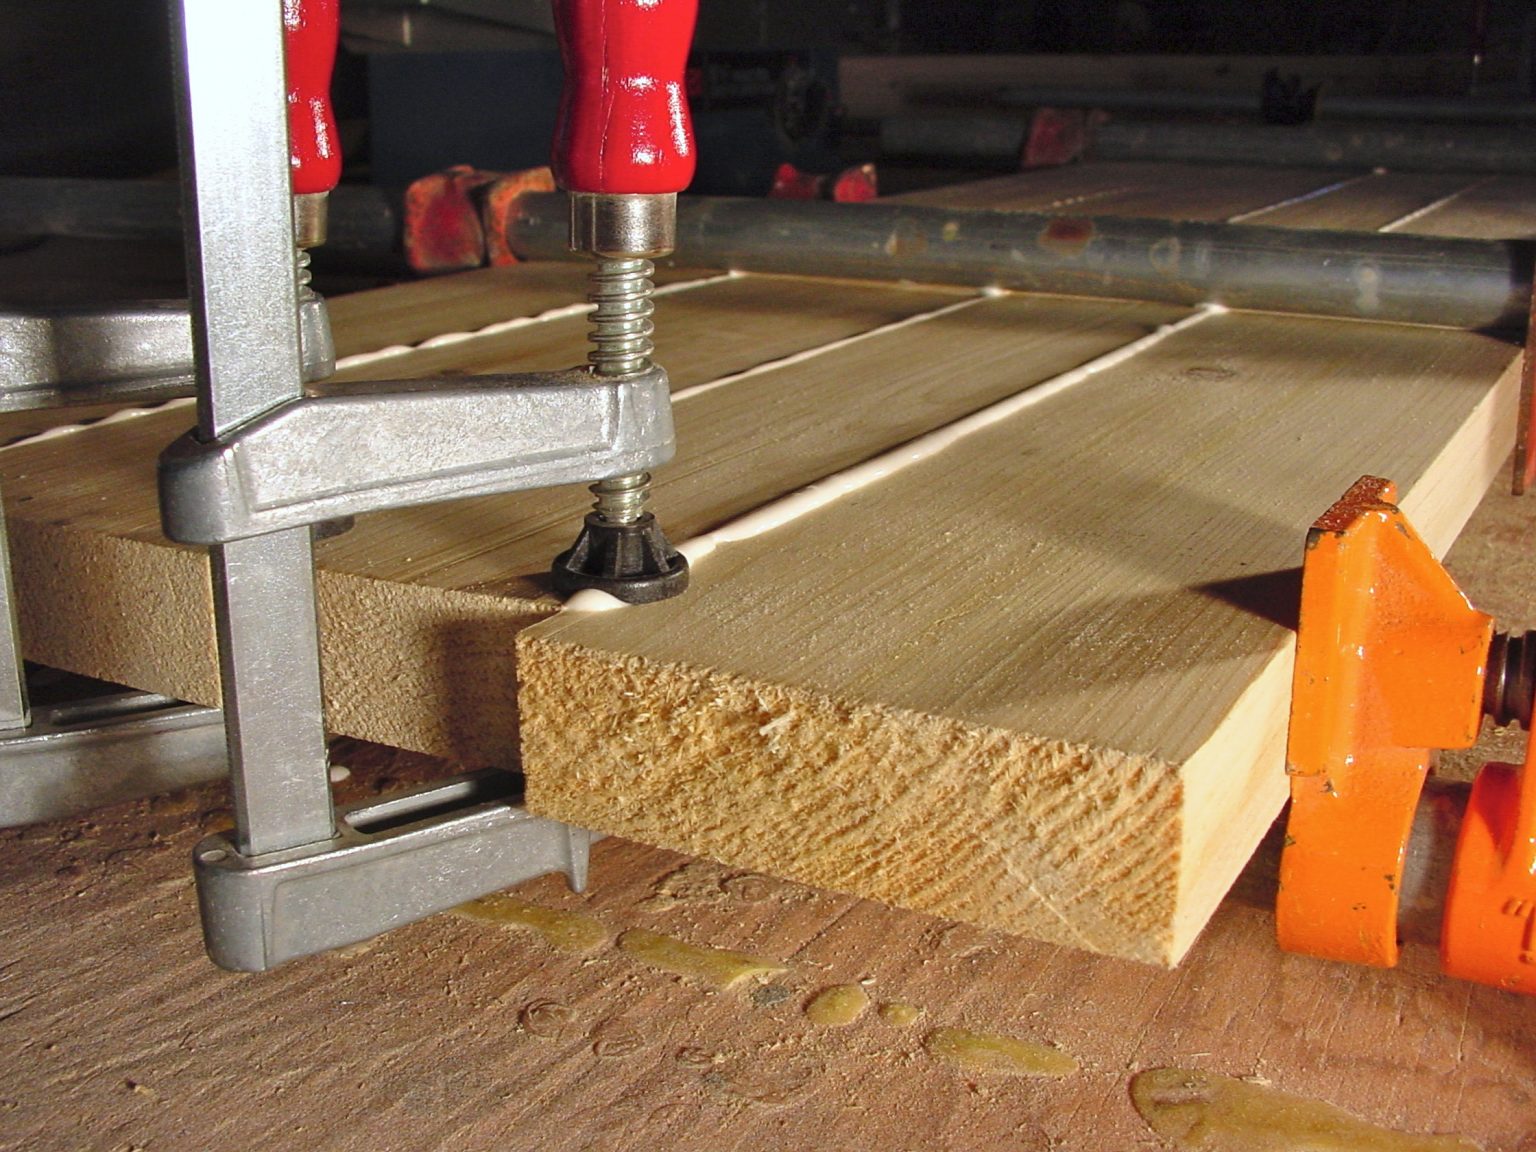
Lay your tabletop boards side by side on a flat surface facing down so that you can work on the bottom of your tabletop. Create angled pocket holes with your pocket hole jig on the wide sides of your planks, angled into the edge grain where your pieces of lumber will be fused together. Glue the edge grains with the pocket holes of planks together, then secure them with 2 ½ inch pocket hole screws. You will also need wood glue and clamps to help keep your pieces of lumber together as you work. You’ll need sandpaper, and wood stain to finish your table.
4. Add Your Aprons

Cut four 2 x 4 pieces of wood to the size of your table. Create angled pocket holes with your pocket hole jig on top of the plank, near the edge grain of the wood. Clamp and glue these together using standard wood glue, and then fasten the apron together with screws. Make sure your pocket holes are placed on the nearer side of the table. Glue your apron to the bottom of your tabletop, then fasten the pieces together with pocket screws.
5. Attach Your Legs
Glue your table legs to the inside corners of the table’s apron. Secure these with fastening screws. Make sure your legs are at a right angle to the tabletop before screwing them into place to prevent your table from wobbling.
6. Sand and Stain
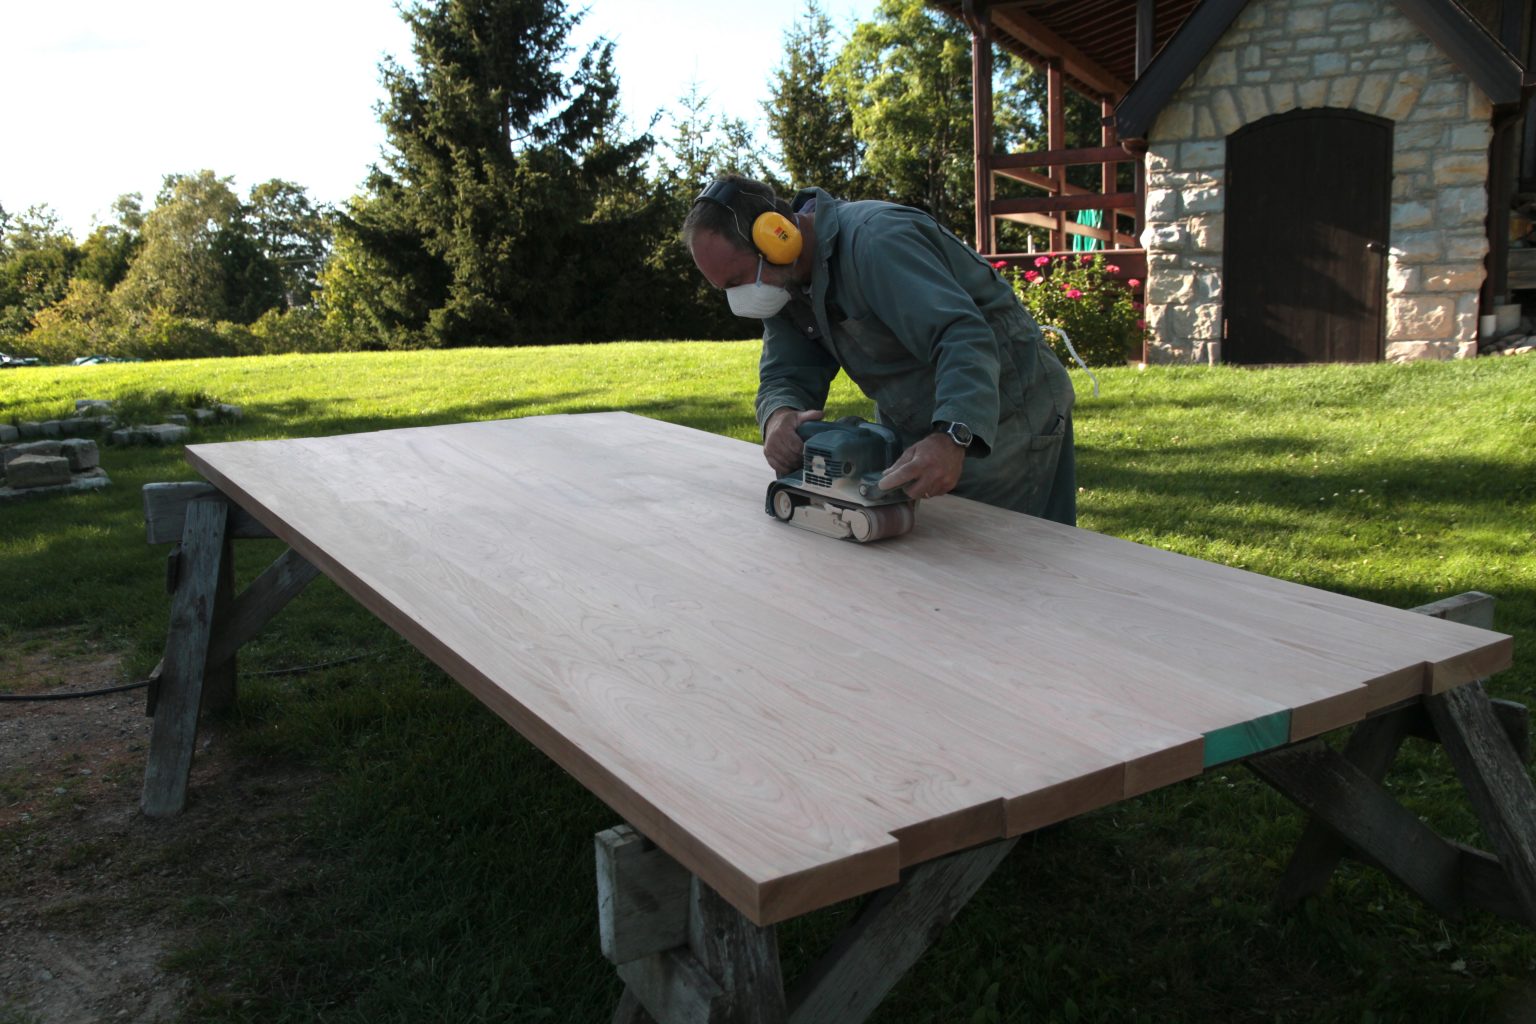
Sand down your tabletop and the legs, going with the grain of the wood. In a well-ventilated area, apply a wood staining finish with a brush. Wipe up the excess stainer with a rag and apply a second coating after the first stain dries. For outdoor tables, consider using a sealant or a coat of water-proof polyurethane to protect it from the elements.
Materials Needed to Build a Table
Certain table designs will require different components, but below are just some of the materials you will need when crafting your own wood dining table.
- Lumber: For a simple wooden dining room table, you will need four table legs made of 4 x 4 inch blanks. Your legs may also be made from a different material like steel hairpin legs which are sold at most hardware stores. If using your own lumber for your tabletop, prepare. four to five two-inch by 10-inch wooden boards. You can sand these with 220-grit sandpaper on an electric sander.
- Woodworking Tools: If you need to cut your own lumber, you will need a table saw, miter saw, or circular saw.
- Household tools and hardware: For this project, you will need a power drill and driver bits, an electric sander, and a pocket hole jig—a tool that makes drilling hidden (pocket) holes easier. You’ll also need a number of screws to screw your tabletop support and legs together, and a tape measure to document your table dimensions.
- Safety supplies: Every time that you cut wood, you should wear gloves, safety goggles, and a filtered mask.